


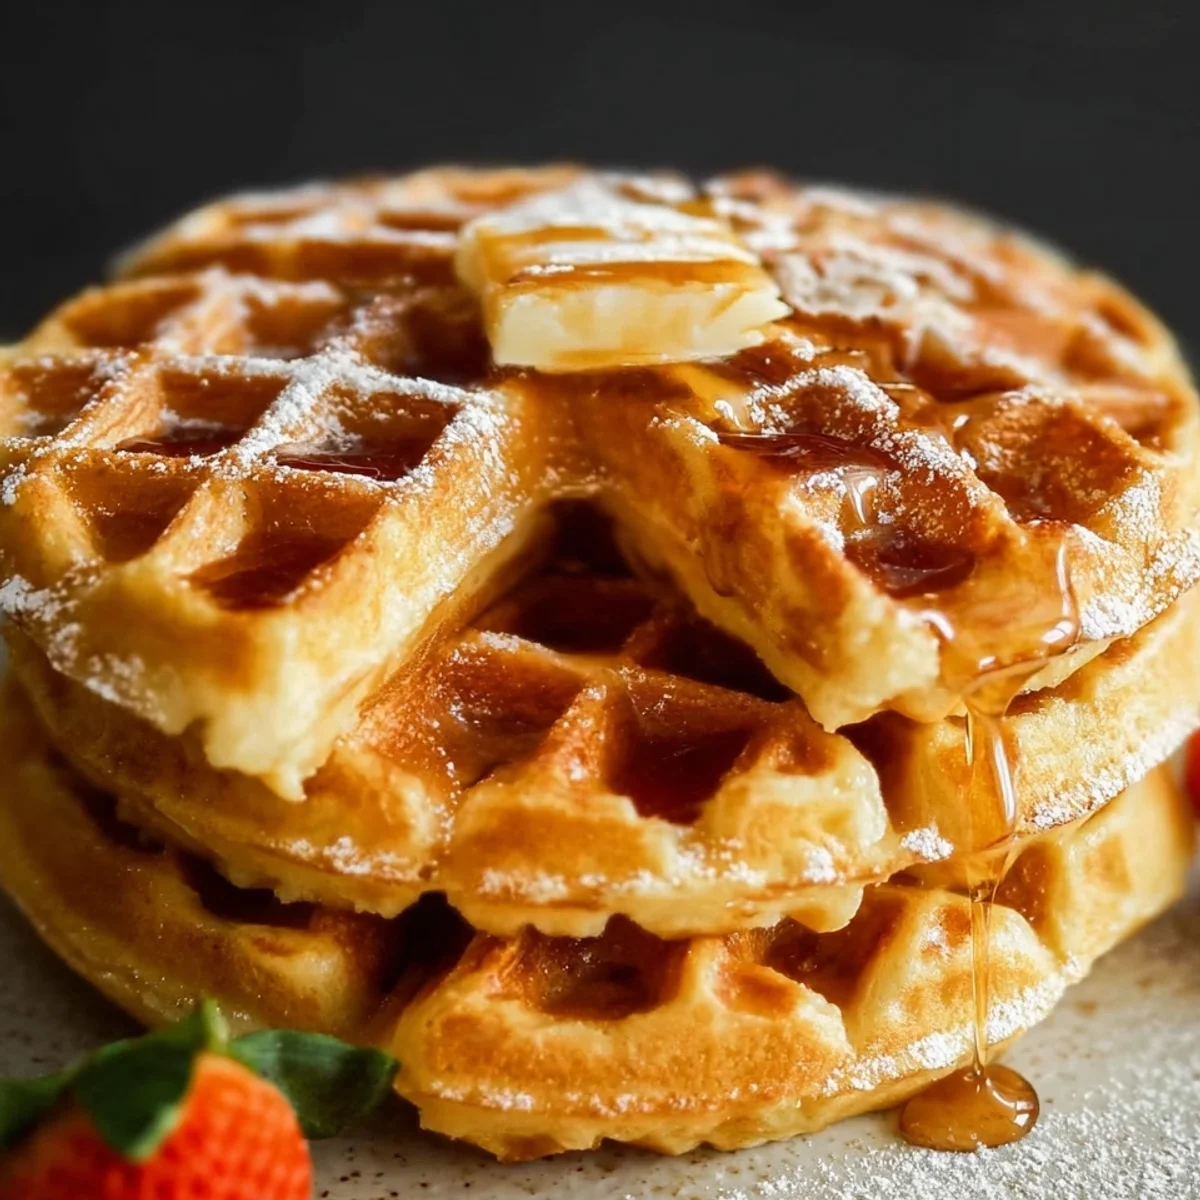
Protein Powder Waffles deliver 41g protein per serving. Enjoy these crispy, quick-to-make, and satisfying waffles for a powerful start to your day.
Okay, so picture this: I was on a serious mission to find a breakfast that actually fueled me without feeling like a chore. Mornings are crazy, right? I tried all the protein shakes, the sad oatmeals… nothing hit the spot. Then, one bleary-eyed Saturday, I thought, "What if I could make waffles, but good for me?" And boom! After a few kitchen explosions (you know how it goes), these protein Powder Waffles were born. Honestly, they changed my whole breakfast game.
Oh man, the early days of perfecting these protein Powder Waffles! I remember one morning, I was so excited, I forgot to add the cornstarch. The waffles came out like floppy, sad pancakes, sticking to the iron like glue. My dog even gave it a suspicious sniff before walking away! It was a total mess, but hey, that's how you learn the secrets to truly crispy waffles, right?
What You'll Need for Amazing Protein Powder Waffles
- 3/4 cup + 1 tbsp Vanilla Whey protein Powder: This isn't just for protein, it's the star of the show! I've experimented with so many brands, and vanilla whey gives these waffles that perfect sweet, comforting base flavor. It also helps with the structure, making sure these protein Powder Waffles hold up and get nice and fluffy. Don't skimp on a good quality powder, it makes all the difference, hon.
- 1/2 cup All-Purpose Flour: Even though we're going high-protein, a little bit of all-purpose flour is essential. It provides that classic waffle texture, giving it enough body to get crispy on the outside while staying tender inside. I tried going flour-free once, and let's just say it was a crumbly disaster. This amount is just enough to create that perfect balance.
- 2 tbsp Cornstarch: Okay, this is my secret weapon for that incredible crispiness! Seriously, this tiny addition makes all the difference. Without it, your waffles might be soft, but they won't have that satisfying crunch on the outside. I learned this trick after way too many soggy waffle attempts. It's a game-changer for these amazing protein Powder Waffles.
- 1 tbsp Baking Powder, 1/4 tsp Baking Soda: These two are the dynamic duo for fluffiness! Baking powder gives it that initial lift, while baking soda reacts with the almond milk to create extra airiness. It’s like magic watching them puff up in the waffle iron. Trust me, you want that light, airy interior contrasting with the crispy exterior, and these are how you get it.
- 2 tbsp Granulated Erythritol, 1 tbsp Light Brown Sugar: Sweetness matters, even in healthy waffles! The erythritol keeps the sugar content low, but that touch of brown sugar? It's not just for flavor, it helps with browning and gives a subtle caramel note. I played with ratios forever to get that perfect balance sweet enough to feel like a treat, but not overly sugary.
- 1 1/4 cups Unsweetened Almond Milk: This is our liquid base, and almond milk keeps it light and dairy-free if that's your jam. It brings everything together into a smooth, pourable batter. I've tried other milks, but almond milk gives the best consistency without overpowering the vanilla protein flavor. Just make sure it's unsweetened, or adjust your other sweeteners!
Making Your Protein Powder Waffles: Step-by-Step Goodness
- Step 1: Preheat & Combine Dry:
- First things first, get that waffle iron heating up! I always set mine to medium-high. While it’s warming, grab a big bowl. Toss in your vanilla protein powder, flour, cornstarch, baking powder, baking soda, salt, erythritol, brown sugar, and cinnamon. Whisk it all together really well. You want no lumps, just a beautiful, uniform mix for our future protein Powder Waffles. This ensures even distribution and perfect texture later on.
- Step 2: Whisk Wet Ingredients:
- In a separate, medium-sized bowl, pour in your unsweetened almond milk. Give it a good whisk until it's nice and smooth. This step seems simple, but getting your wet ingredients ready separately ensures everything combines smoothly later. It’s all about building that perfect base for a fluffy, crispy batch of waffles. No one wants clumpy batter, am I right?
- Step 3: Form Waffle Batter:
- Now for the magic! Pour your wet ingredients into the dry mixture. Gently whisk until just combined. Seriously, don't overmix! A few small lumps are totally okay, even desirable. Overmixing develops the gluten too much, and we want tender, not tough, protein Powder Waffles. This gentle approach is key for that light, airy texture we're aiming for.
- Step 4: Rest the Batter:
- This step is SO important, don't skip it! Let your batter rest for at least 5-10 minutes. During this time, the baking powder gets activated, and the flour hydrates, leading to a much fluffier waffle. I usually use this time to grab my toppings or clean up a little. Trust me, the wait is worth it for the ultimate protein Powder Waffles experience.
- Step 5: Cook Waffles:
- Time to cook! Lightly grease your preheated waffle iron if needed (mine's non-stick, so I usually don't). Pour about 1/2 cup of batter per waffle, spreading it slightly. Close the iron and cook until golden brown and crispy, about 3-5 minutes, depending on your iron. Don't peek too early! You'll know they're ready when the steam slows down and the edges are beautifully golden. These protein Powder Waffles cook up so nicely!
- Step 6: Serve Immediately:
- The absolute best way to enjoy these? Fresh off the iron! Transfer your crispy protein powder waffles to a plate and serve them up right away. If you're making a big batch, you can keep them warm in a low oven (around 200°F/95°C) on a wire rack while you finish the rest. But honestly, that first bite, still warm and crispy? Pure bliss.
Honestly, making these waffles has become one of my favorite weekend rituals. The smell of cinnamon and vanilla filling the kitchen is just heavenly. There's something so satisfying about pouring that batter and watching it transform into golden, crispy perfection. It's a little slice of morning peace before the day gets going, and it tastes so good, you forget it's good for you!
Keeping Your Protein Powder Waffles Fresh: Storage Hacks
Okay, so you've made a batch of these glorious protein Powder Waffles and maybe have some leftovers? Lucky you! My biggest mistake in the past was just tossing them into a container, only to find them soggy later. Don't do that! Let them cool completely on a wire rack first. This is crucial for maintaining crispiness. Once cool, you can store them in an airtight container in the fridge for up to 3-4 days. For longer storage, flash freeze them individually on a baking sheet, then transfer to a freezer-safe bag for up to 2 months. Reheat in a toaster or air fryer for that amazing crispness it's like they're fresh!

Swapping Ingredients in Your Protein Powder Waffles
I've played around with so many variations trying to perfect this recipe! For the protein powder, I've had success with chocolate whey for a richer flavor, or even unflavored whey if you want to add your own spices. Just make sure it's whey, as plant-based proteins can change the texture quite a bit (they tend to be drier). If you're out of cornstarch, arrowroot powder works too, though I find cornstarch gives the best crisp. Almond milk can be swapped for regular dairy milk or soy milk, but again, be mindful of sweetness if you use sweetened versions. As for sweeteners, feel free to adjust the erythritol and brown sugar to your taste maybe a touch of maple syrup in the batter if you're feeling wild!
Serving Up Your Delicious Protein Powder Waffles
Oh, the toppings! This is where the real fun begins with your crispy waffles. My go-to is a dollop of Greek yogurt (more protein, yay!), fresh berries, and a drizzle of sugar-free maple syrup. Sometimes I get fancy with a sprinkle of chopped nuts or a spoonful of almond butter for extra healthy fats. For a more decadent vibe, a few chocolate chips melted on top right after they come off the iron? Chef's kiss! I've even done a savory version once with a fried egg and a dash of hot sauce I didn't expect that, but it was surprisingly good! Don't be afraid to experiment, that's half the joy of cooking, right?
The Story Behind These Protein Powder Waffles
Waffles themselves have such a cool history, tracing back to medieval Europe with those flat, honey-sweetened cakes. But the American-style waffle, the kind we know and love with those deep pockets, really took off with the invention of the electric waffle iron. My take on this recipe is a modern spin on that classic comfort food. It's about adapting a beloved dish to fit a healthier, more active lifestyle without sacrificing any of the joy or flavor. It really speaks to the spirit of home cooking, doesn't it?
So there you have it, friends! My absolute favorite recipe. They're such a game-changer for satisfying, healthy mornings, and I honestly can't imagine my breakfast routine without them now. Give them a try, play with your toppings, and let me know what you think! I love hearing about your kitchen adventures. Happy cooking!

Your Questions About Protein Powder Waffles, Answered!
- → Can I use a different type of protein powder?
I've mostly tested with vanilla whey protein, which gives the best texture and flavor for these waffles. Plant-based proteins or casein might result in a denser, drier waffle, so you might need to adjust the liquid a bit. Experiment, but vanilla whey is my top pick for this recipe!
- → Why do my waffles stick to the iron?
Oh, the sticky waffle struggle is real! Make sure your waffle iron is properly preheated and lightly greased before each batch. Sometimes, not letting the batter rest enough can also contribute. And honestly, don't open the iron too early, let them cook until the steam almost stops for best release.
- → Can I make these ahead of time?
Absolutely! These waffles are great for meal prep. Cook them fully, let them cool completely on a wire rack, then store in the fridge or freezer. Reheat them in a toaster or air fryer for a few minutes, and they'll get nice and crispy again, almost like they were fresh!
- → What if I don't have cornstarch?
No cornstarch? No problem, mostly! Cornstarch is my secret for that extra crispy edge, but you can omit it if you don't have any. Your waffles might be a little softer, but still delicious. You could also try a tiny bit of arrowroot powder as a substitute, but cornstarch is king for these!
- → Can I make the batter in advance?
You can! I've stored the batter in an airtight container in the fridge for up to 24 hours. Just give it a gentle whisk before pouring into the waffle iron, as it might thicken slightly. It's a great way to prep for super quick, delicious waffles on a busy morning!
Protein Powder Waffles: 41g Protein, Crispy & Quick
Protein Powder Waffles deliver 41g protein per serving. Enjoy these crispy, quick-to-make, and satisfying waffles for a powerful start to your day.
Ingredients
The Protein-Packed Dry Mix
- 3/4 cup + 1 tbsp Vanilla Whey Protein Powder
- 1/2 cup All-Purpose Flour
- 2 tbsp Cornstarch
- 1 tbsp Baking Powder
- 1/4 tsp Baking Soda
- 1/4 tsp Fine Sea Salt
- 2 tbsp Granulated Erythritol
- 1 tbsp Light Brown Sugar
- 1/2 tsp Ground Cinnamon
The Wet & Rich Blend
- 1 1/4 cups Unsweetened Almond Milk
- 1/4 cup Melted Unsalted Butter
- 1 tsp Pure Vanilla Extract
Waffle Iron Prep
- 1 tbsp Neutral Oil (e.g., avocado, canola) for greasing
Instructions
-
1Preheat & Combine DryPreheat your waffle iron according to manufacturer instructions. In a large bowl, whisk together 3/4 cup + 1 tbsp Vanilla Whey Protein Powder, 1/2 cup All-Purpose Flour, 2 tbsp Cornstarch, 1 tbsp Baking Powder, 1/4 tsp Baking Soda, 1/4 tsp Fine Sea Salt, 2 tbsp Granulated Erythritol, 1 tbsp Light Brown Sugar, and 1/2 tsp Ground Cinnamon. This forms the base for your "Protein Powder Waffles: 41g Protein, Crispy & Quick".
-
2Whisk Wet IngredientsIn a separate medium bowl, whisk together 1 1/4 cups Unsweetened Almond Milk, 1/4 cup Melted Unsalted Butter, and 1 tsp Pure Vanilla Extract until well combined. Ensure the butter is melted but not hot, to avoid cooking the protein powder prematurely when mixed.
-
3Form Waffle BatterPour the wet ingredient mixture into the dry ingredients. Stir gently with a whisk or spatula until just combined. A few small lumps are fine, overmixing can lead to tough waffles. This batter is crucial for achieving "Protein Powder Waffles: 41g Protein, Crispy & Quick".
-
4Rest the BatterAllow the waffle batter to rest for 5 minutes. This resting period helps the flour hydrate and the baking powder activate, resulting in a lighter, crispier texture. Use this time to ensure your waffle iron is fully preheated.
-
5Cook WafflesLightly brush or spray your preheated waffle iron with 1 tbsp Neutral Oil (e.g., avocado, canola). Pour about 1/2 cup of batter per waffle, or as directed by your iron. Cook for 3-5 minutes, or until golden brown and crispy. Repeat for all "Protein Powder Waffles: 41g Protein, Crispy & Quick".
-
6Serve ImmediatelyCarefully remove the cooked waffles from the iron. Serve your delicious Protein Powder Waffles immediately with your favorite toppings like fresh fruit, sugar-free syrup, or a dollop of Greek yogurt for an extra protein boost.
Notes
For best results, use vanilla whey protein powder as specified. Other protein types (e.g., casein, plant-based) may absorb liquid differently, requiring slight adjustments to the almond milk quantity.
Leftover waffles can be stored in an airtight container in the refrigerator for up to 3 days. Reheat in a toaster or oven for crispness.
To maintain maximum crispiness, avoid stacking hot waffles directly on top of each other. Place them on a wire rack to cool slightly before serving or storing.
Elevate your waffles with toppings like fresh berries, sliced banana, a drizzle of sugar-free maple syrup, or a sprinkle of chopped nuts for added flavor and texture.
Equipment
Please check ingredients for potential allergens and consult a health professional if in doubt.
Nutrition Facts
It is important to consider this information as approximate and not to use it as definitive health advice.
Comments
Leave a Comment